Tilt Shift in Photoshop
For this Project, I used Photoshop to get the tilt shift effect. I did this because it is the easiest and cheapest route to get the shot I needed. The other options I had were to use a tilt shift lens, good lenses weigh in at about +£500, so to me, this wasn't really and option. I could have used some software on the internet but this software is limited into what you can do, and I don't feel the final result would be of the quality I wanted. Therefore, I used Photoshop.
To learn how to do the technique, I had to look on the internet. Using Photoshop can be a daunting prospect, especially for me. The site I used was very helpful and to the point.
The next screenshots show how I used Photoshop on my own photos to get the tilt shift effect.
To learn how to do the technique, I had to look on the internet. Using Photoshop can be a daunting prospect, especially for me. The site I used was very helpful and to the point.
The next screenshots show how I used Photoshop on my own photos to get the tilt shift effect.

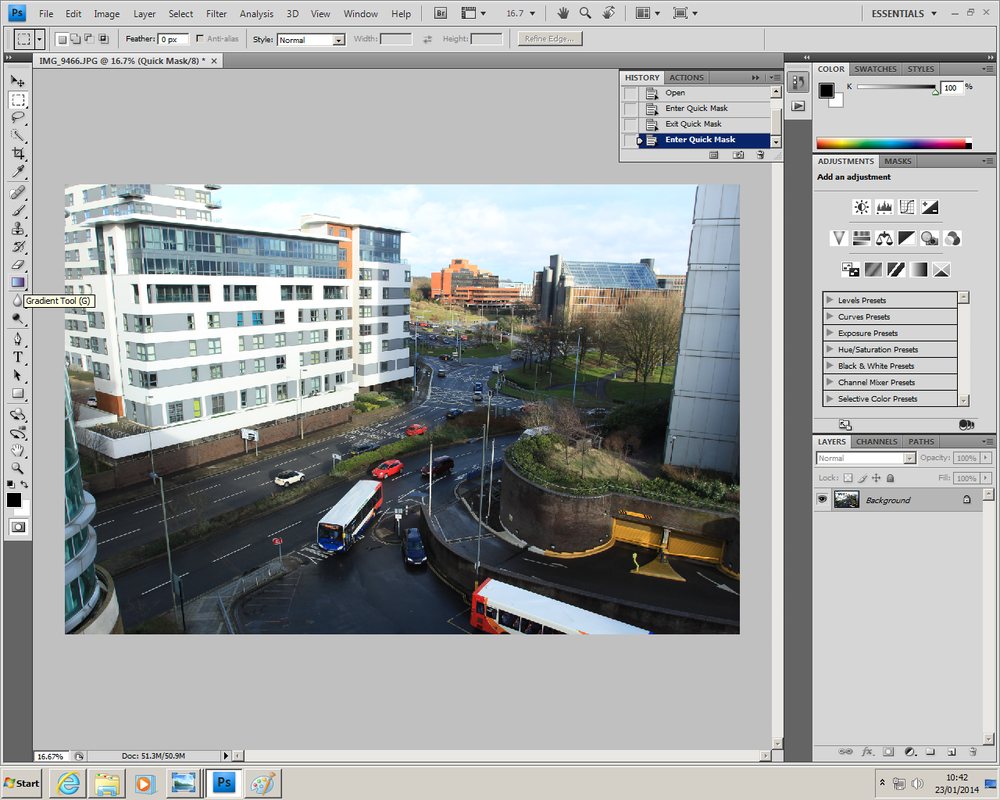
The first step is to open the photo in Photoshop.

Step 2 is to find the quick mask selection mode button.
Once the quick mask mode is selected, the gradient tool needs to be found, this can be used for adding effects in a gradual format.
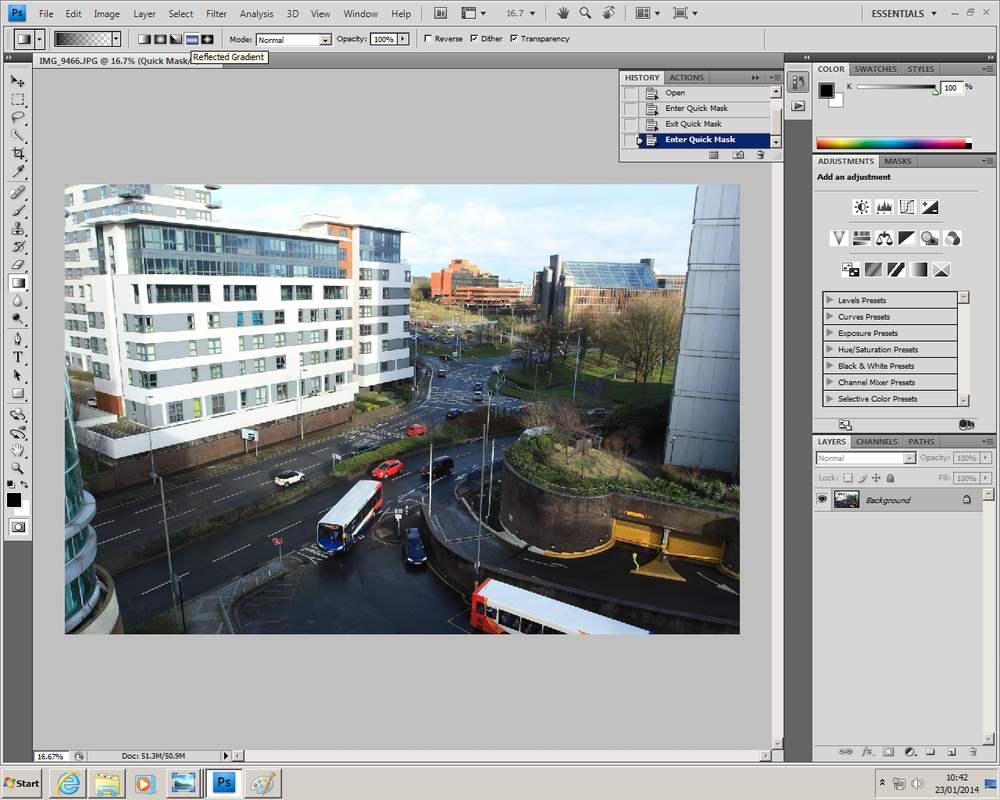
On the gradient tool toolbar at the top the reflected gradient needs to be selected.

The next step is to select the width of the photo i want to have in focus. To do this, I moved my cursor over the photo, I placed it between the bus and the car in the centre of the shot. Once I had done this I clicked and dragged up the photo. This action created the line which is visible, this shows what you are doing.
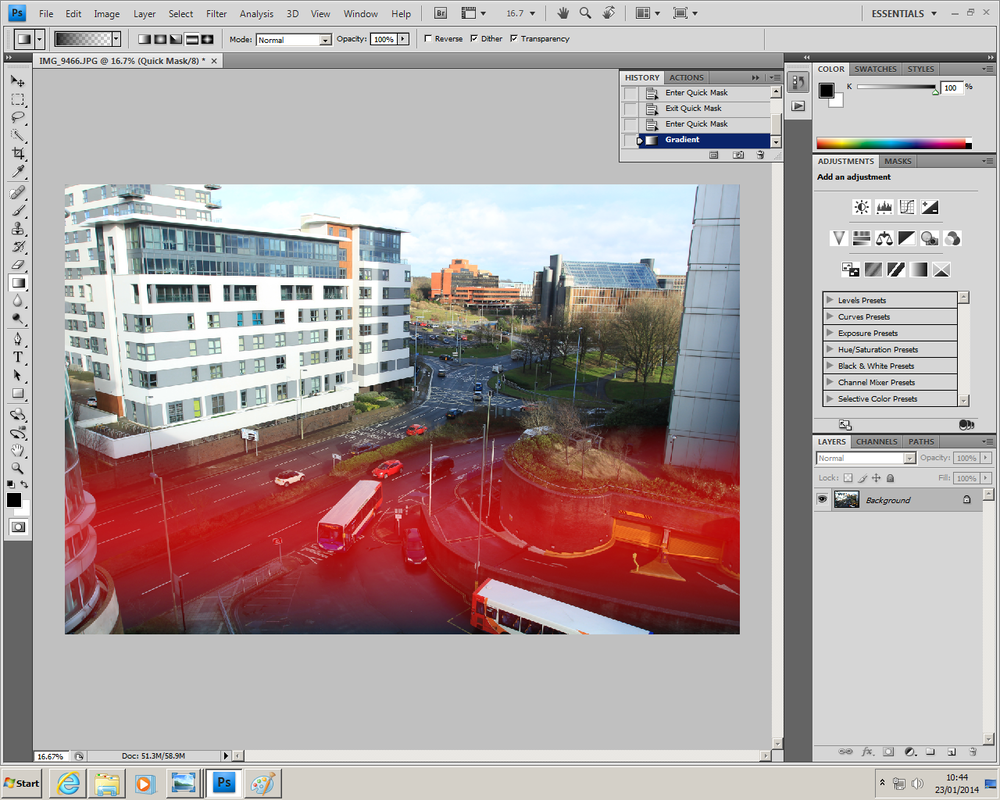
Once I had let the mouse go this red area showed up. This shows what is going to be in focus. As you may be able to see as you look further away from the centre of the red area the red part becomes less visible, this shows that the blurriness I will add later will be gradual, thanks to the Gradient filter I used.

For this part I exited quick mask mode, this caused the red area to disappear and be replaced by the marching ants.
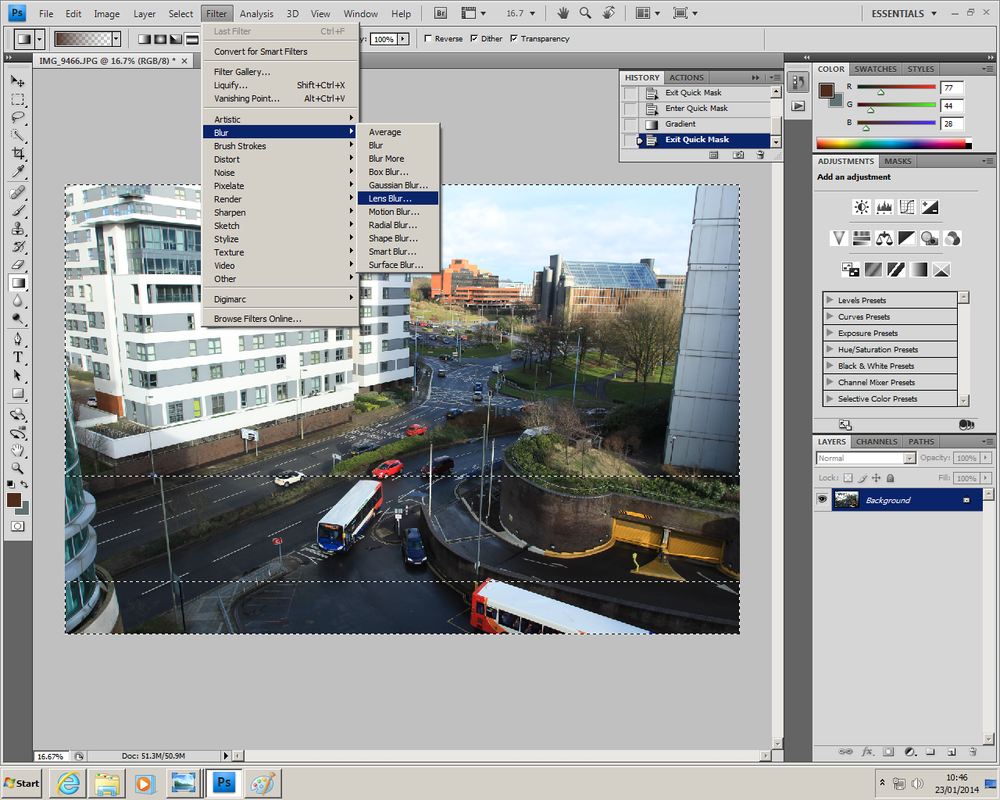
Next I went over to the filter tab on the top and went down into "Blur" and then into "Lens Blur".
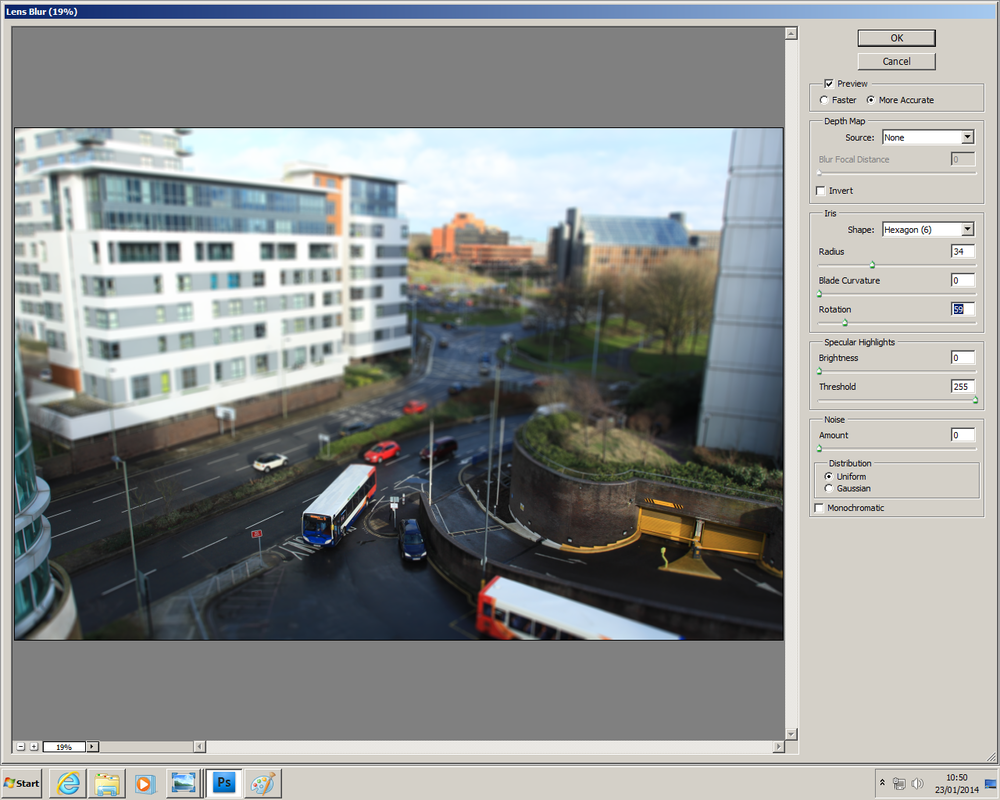
Upon clicking on "Lens Blur" this window shows up. This window enables the user to change the strength of the blur filter. It this filter that creates the tilt shift effect. On the right hand side are the sliders used to change the strength of certain things.
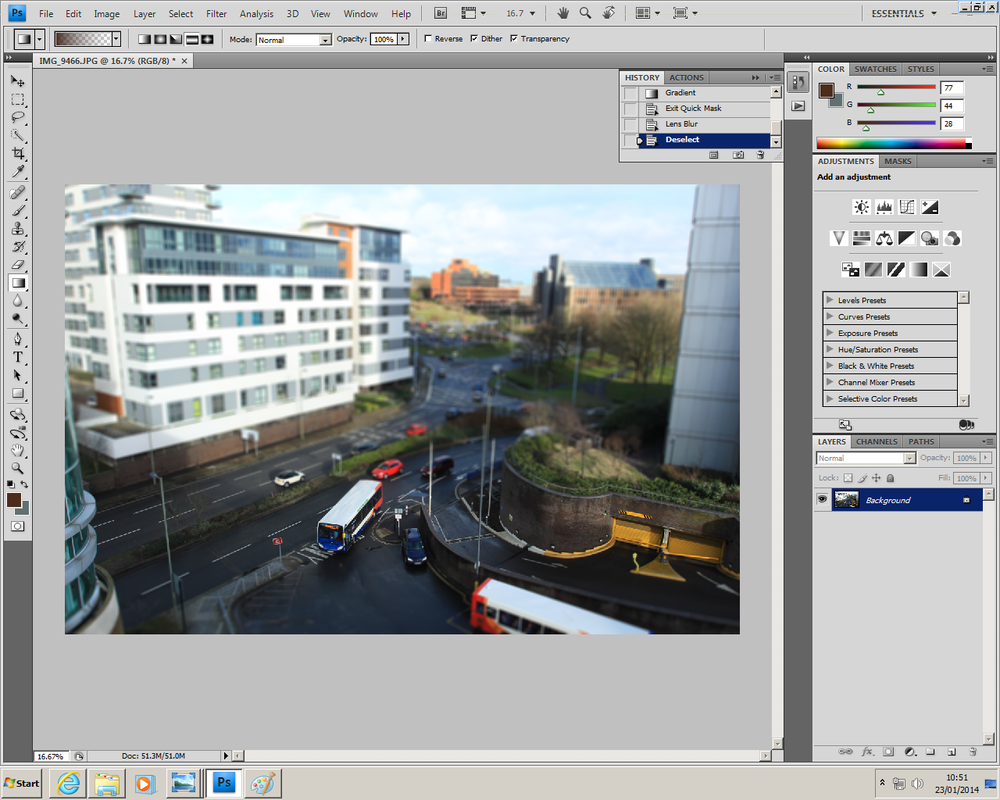
Once I was happy I clicked OK on the "Lens Blur" window and returned to the original window, As we can see the lens blur has now taken effect and the photo looks tilt shift. Before this however I had press Ctrl+D to deselect the area with the marching ants.
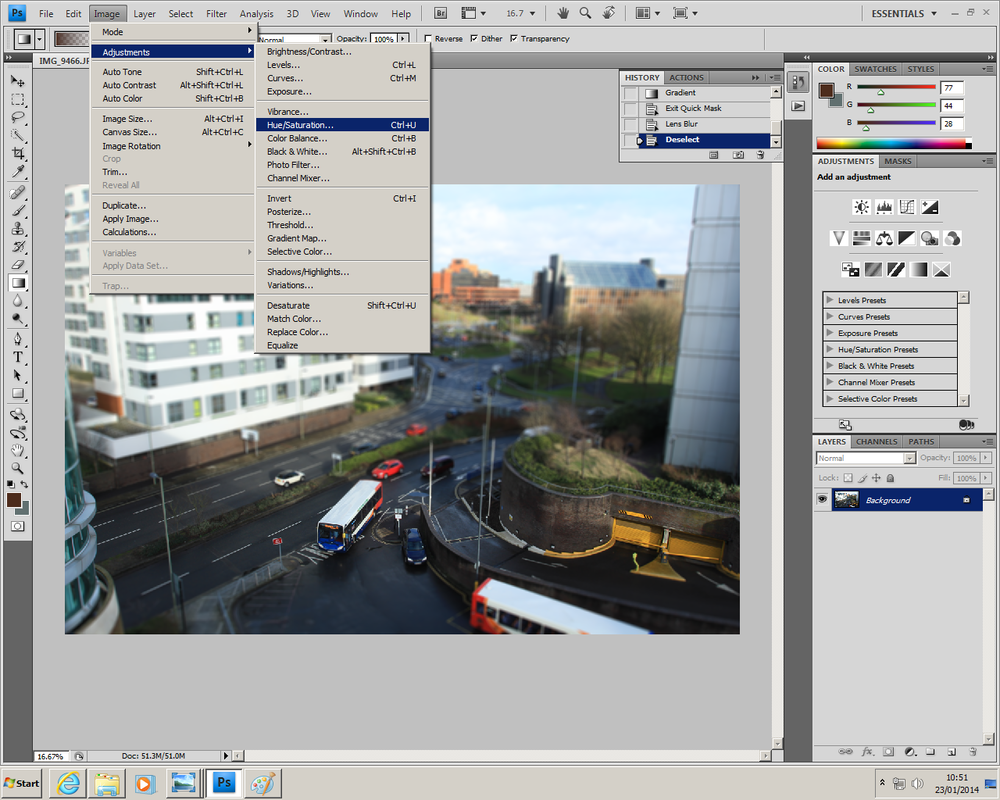
To add to the miniature effect I decided to make the photo more saturated. I simply went into adjustments then into "Hue/Saturation".
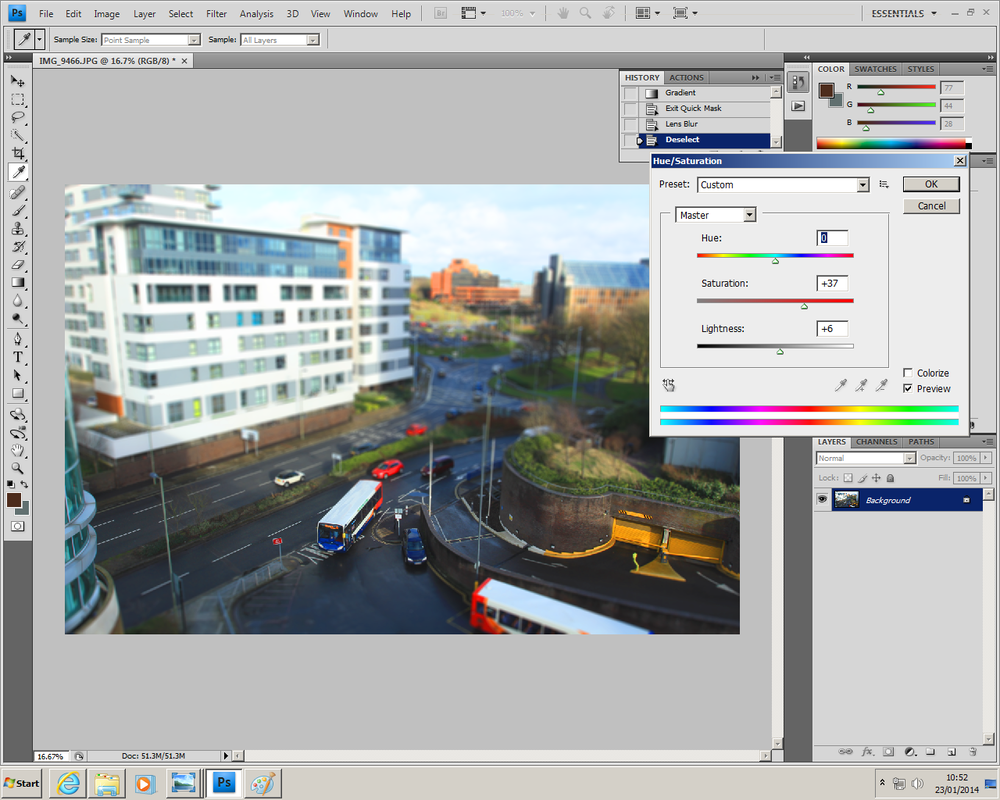
This is the window I used to change the saturation. I simply bumped it up a bit to give it more of a miniature feel.
